How to Inspect a Used Car: 8-Step Checklist Before You Buy
Learn how to inspect a used car in eight steps: online history checks, paperwork, bodywork, tyres, engine, interior, test drive and when to walk away.
How to Inspect a Used Car: 8-Step Checklist Before You Buy
The way to inspect a used car is to work in a fixed order. Run the registration through online history checks before you travel. At the viewing, check the paperwork, bodywork, tyres, engine bay, interior and electrics. Then take a test drive of 20 to 30 minutes, and walk away from any car where the evidence does not add up. If the car is expensive, or you do not feel confident, pay a mechanic for a pre-purchase inspection before you hand over any money.
Most used cars look fine on a driveway. A fresh valet hides worn trim, a good polish hides repaired panels and a warm engine hides a bad cold start. In a private sale you get far less legal protection than from a dealer, so a missed fault becomes your repair bill. Some of the worst problems also cannot be seen at all, such as outstanding finance, a wound-back odometer or an unreported write-off.
This guide gives you eight steps in the order you should do them, from the online checks at home to the final decision. Each step tells you what to look at, how to test it and what counts as a warning sign. Vehiclepedia provides vehicle history checks for UK registrations, so the guide also shows where a history report fills the gaps that your eyes and hands cannot.
Why a proper inspection matters and what to bring
A proper inspection matters because a used car is sold with its faults, and once you pay, those faults are yours. Done in a fixed order, a thorough check takes about an hour and costs you nothing but time.
What an inspection can and cannot tell you
Your own inspection catches what shows on the surface: accident repairs, worn tyres, patchy servicing, electrical faults and rough running. It cannot see inside a gearbox, measure engine compression or examine the underside without a ramp. Treat it as a filter. It removes the bad cars quickly and leaves a shortlist that is worth paying a mechanic to examine.
Hidden history is a separate problem. Finance, theft, insurance write-offs and clocked mileage leave no mark you can feel or see, so only a records check reveals them. That is why the first step happens before you leave home.
A good inspection combines what you can see on the car with what the official records say about it.
Your rights depend on who is selling
Buying from a dealer or trader gives you the most protection. Under the Consumer Rights Act 2015 the car must be of satisfactory quality, fit for purpose and as described. You normally have a 30-day short-term right to reject a car with a fault and get a refund. Faults that appear in the first six months are presumed to have been there at the point of sale unless the trader proves otherwise.
Private sales work differently. The seller must describe the car honestly and must have the right to sell it. Beyond that, you have little comeback for faults you could have spotted yourself. In a private sale, your inspection is your main protection. This is general information, not legal advice, so check the details on GOV.UK if a dispute arises.
What to bring and when to view
Take a small kit. Most of it is already in your house.
- A torch, even in daylight, for wheel arches, the engine bay and under the seats
- Kitchen roll or a rag for wiping the oil dipstick
- A small fridge magnet wrapped in a thin cloth, to test panels for filler
- A 20p coin for the tyre tread test
- The advert, saved or printed, to compare against the car
- Your driving licence and a charged phone for photos
- A friend. A second pair of eyes is harder to rush than one
Arrange the viewing for daylight and dry weather. Rain and darkness hide dents, ripples and paint differences. Ask to see the car at the seller's home address, which should match the address on the registration document, and ask them not to start the engine before you arrive. Set aside 60 to 90 minutes. A seller who pushes you to hurry has told you something about the car.
Step 1. Run online checks before you travel
Run the registration number through official databases before you leave the house. It takes ten minutes and often kills a bad deal before you waste a journey.
Ask the seller for the details
Ask for the registration number, make and model and the MOT test number, which is the same information GOV.UK tells buyers to collect. Many sellers will send these in one message, and a seller who hesitates over a registration number is worth noting. You can copy this message.
Hi, I'm interested in the [make and model] you have advertised.
Before I travel to see it, could you confirm:
- the registration number
- the MOT test number or current MOT expiry date
- whether there is any outstanding finance on the car
- how long you have owned it and how many keepers it has had
- that the V5C and service history will be available at the viewing
- that the engine will be cold when I arrive
Thanks, [your name]
Check the registration against official records
Enter the registration into a free DVLA vehicle checker. Confirm that the make, model, colour, year and engine size match the advert exactly. A colour change, a plate change or an import marker is not automatically bad, but it needs an explanation from the seller. Check the free MOT history for mileage readings, past failures and advisories. You can also check for open safety recalls on GOV.UK at https://www.gov.uk/check-vehicle-recall.
Free service history data is also worth pulling up. Vehiclepedia's free service history checker draws on manufacturer and dealer networks, including Audi, BMW, Mercedes-Benz, Ford, Volkswagen and Kia, and shows the date and mileage of each recorded service. Compare those dates with what the seller says about how the car was maintained.
If the registration details do not match the advert, stop and ask why before you drive anywhere.
Use a full history report for what you cannot see
Some of the biggest risks are only visible in specialist databases. A vehicle finance check shows whether a lender may still have a claim on the car. A car stolen check searches police and insurance records. A car write-off check shows whether the car was ever written off, and a salvage check shows whether it later appeared at a salvage auction. A car mileage check compares the recorded mileage against official records for signs of fraud.
| Check | What it shows | Why it matters |
|---|---|---|
| Free DVLA vehicle check | Model details, performance, plate and colour changes, import and scrapped status, tax, emissions | Confirms the car is what the advert says |
| Free MOT check | MOT status, due date, full history and mileage | Reveals repeated failures and mileage jumps |
| Free service history check | Date and mileage of each recorded service | Tests the seller's maintenance claims |
| Finance check | Whether finance is outstanding | A car with finance may still belong to the lender |
| Stolen check | Police and insurance stolen records | Avoids a car that could be seized |
| Write-off and salvage checks | Write-off category, salvage auction date, VIN details | Shows the level of past damage |
| Genuine mileage check | Recorded mileage against official records | Flags odometer discrepancies |
Vehiclepedia takes DVLA data from the DVLA API, MOT history from the DVSA, finance and stolen data from Experian Automotive, and write-off data from the MIAFTR insurance database, with nightly updates. Premium reports for non-trade users carry a data guarantee of up to £30,000.
Step 2. Check the paperwork at the viewing
At the viewing, look at the paperwork before the car itself. Missing or inconsistent documents are the quickest reason to leave, and you will inspect the car more calmly once you know the paperwork is sound.
Read the V5C properly
Ask to see the V5C registration certificate, often called the log book. Check that it has a DVL watermark and that its serial number is not between BG8229501 and BG9999030, or between BI2305501 and BI2800000. Those ranges are linked to stolen documents, and GOV.UK advises calling the police if you find one. Then compare the make, model, colour, registration number and engine details with the car in front of you.
If you are buying privately, the seller's name and address should match the registered keeper on the V5C. A seller who is not the keeper might be a trader posing as a private seller, selling for someone else, or selling a car they have no right to sell. Also note the number of previous keepers and the date of the last change. Several keepers in a short time deserves a direct question. After purchase you will need the green new keeper slip to tax the car, because vehicle tax does not transfer between owners.
Match the VIN and engine number
The vehicle identification number should match in three places: the V5C, the plate or etching at the base of the windscreen, and the stamping elsewhere on the body, often in a door shut or the engine bay. Check the engine number against the V5C as well. Look closely at the VIN plate for scratches, mismatched rivets or signs it has been removed and refitted. A car that has had its identity changed is a car to leave.
If the VIN on the car does not match the V5C, walk away without negotiating.
Go through the MOT and service records
Compare the MOT certificate with the online history. Read every advisory and ask whether it was fixed. A tyre advisory is easy to verify, whereas an advisory for corrosion underneath is harder and often a sign of bills to come. Check that the mileage rises steadily between tests. A drop, or a year with almost no increase on a high-mileage car, needs an explanation. Cars over three years old need an MOT every year, so a car with a long gap in its history deserves questions.
A stamped service book or a folder of invoices is a real asset. Look for regular oil changes, and ask about the timing belt if the car has one, as the replacement interval varies by model and the job is expensive if it is missed. A main dealer stamp is ideal, but a trail of independent invoices from the same garage also tells you the car was looked after. No history on an older cheap car is normal. No history on an expensive car is not.
Step 3. Walk round the bodywork and glass
The bodywork tells you whether the car has been crashed, repaired badly or left to rust. Walk round it slowly, twice, once from a distance and once up close.
Look for signs of accident repair
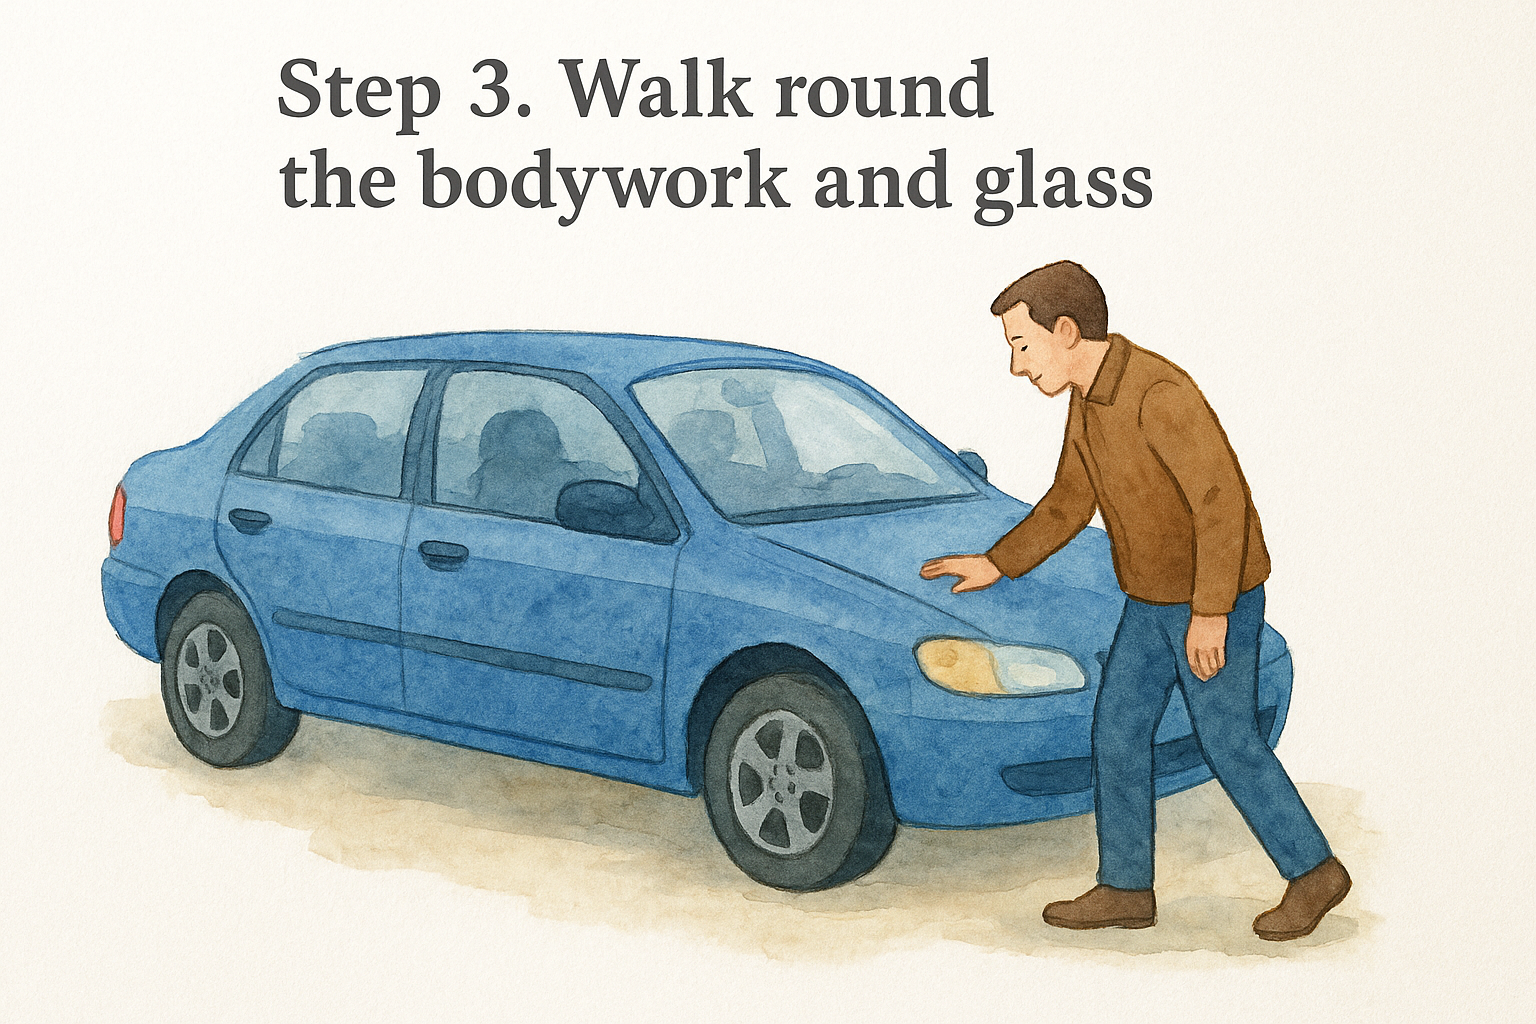
Stand a few metres back at each corner and look along the sides. Ripples, waves or a mismatch in paint colour between panels suggest repair. Then check the gaps between panels, along the bonnet, doors, boot and wings. They should be narrow and even all the way round. A gap that tapers from wide to narrow means the panel has been refitted or the car has been bent.
Open the doors, bonnet and boot and look at the edges and door seals. Overspray on rubber seals, trim or hidden edges shows the panel was repainted. Look at the bolts holding the wings on. Paint cracked or missing around the bolt heads means they have been undone. A bumper that sits slightly off is a small clue. Several clues together add up.
Use a magnet on steel panels
Hold your wrapped magnet against the lower doors, wings and rear quarters. It should grip firmly and evenly. If it sticks weakly or drops off, there may be body filler under the paint. Be careful, because some panels are aluminium on certain cars and bumpers are plastic, so the magnet will not stick to them at all. Test one panel you know is steel, such as the roof, to see what normal feels like.
Uneven gaps, paint mismatch and filler together mean a hidden accident, so ask direct questions and check the write-off record.
Check rust, glass and lights
Rust is most common on sills, wheel arches, door bottoms and the edges of the bonnet and boot. Surface bubbles in the paint are the early stage and mean the metal behind has already corroded. Press gently where you see bubbling. If the panel feels soft or flakes, the problem is bigger than the paint shows. Check under the boot carpet for corrosion as well.
On the glass, look for chips and cracks. Damage over 10mm in the part of the windscreen directly in front of the driver can fail an MOT, and chips in cold weather can spread into cracks quickly. Check every light lens for cracks or moisture inside, and check that each headlight on a pair has a similar clarity. A new light on one side only can point to a front-end repair.
Step 4. Check the wheels and tyres
Tyres reveal both the cost you are about to inherit and how the car has been treated. Check all four, plus the spare, and treat uneven wear as a clue to bigger problems.
Measure the tread
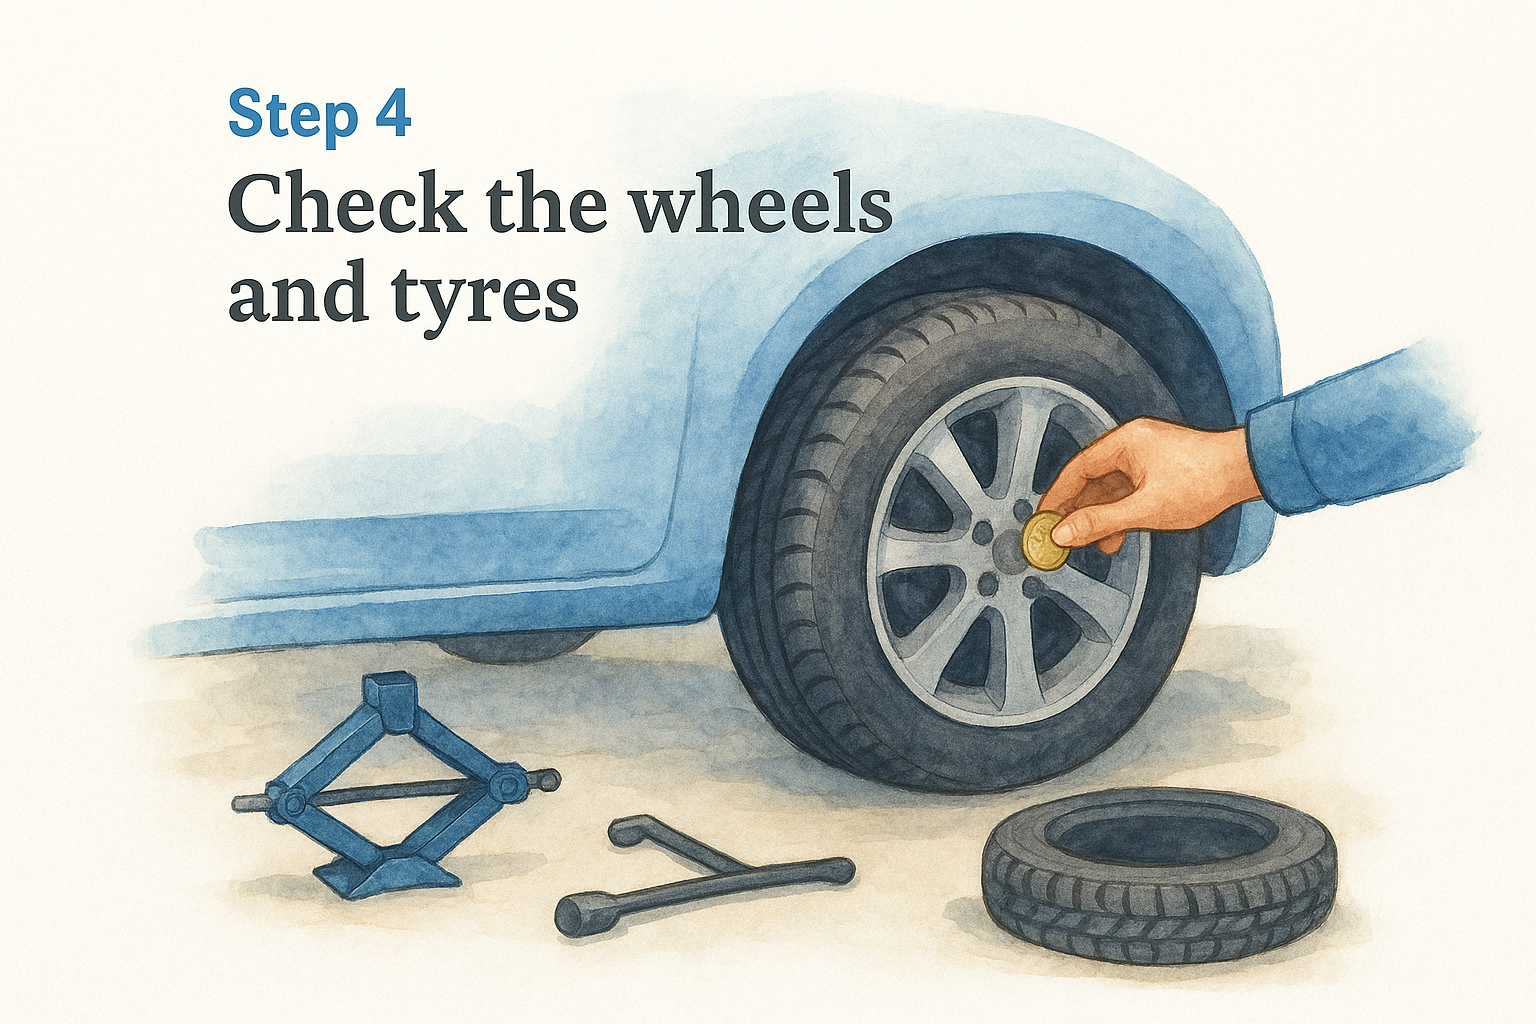
The legal minimum tread depth for a car is 1.6mm across the central three-quarters of the tyre, around its full circumference. Push a 20p coin into the main grooves. If the outer band of the coin is hidden, the tread is above the legal limit. If you can see the band, the tyre is at or below it. A tread depth gauge costs a few pounds and gives you an exact number.
| Tread depth | What it means | What to do |
|---|---|---|
| Below 1.6mm | Illegal and unsafe | Walk away or have the price cut by the full cost of new tyres |
| 1.6mm to 3mm | Legal but near the limit | Budget for replacement very soon |
| Above 3mm | Reasonable life left | Check the tyre age and brand |
Worked example: if all four tyres are at 2mm, you are buying a car that needs a full set soon. Get a quote from a local fitter for the size on the sidewall and use the total in your negotiation.
Read the age, brand and wear pattern
The DOT code on the sidewall ends in four digits, such as 2419, meaning the 24th week of 2019. Tyres lose flexibility with age even when the tread looks good. Many tyre makers advise replacing them at around ten years at most, and tyres of six years or more deserve a closer look for cracks in the sidewall. Four matching tyres from a known brand suggest an owner who spent properly. A mixed set of budget brands suggests the opposite.
Wear pattern matters as much as depth. Wear on the inside or outside edge only points to alignment or suspension problems. Wear in the centre suggests over-inflation, and scalloped patches can point to worn dampers. Uneven wear between the front and rear is normal on some cars, but a difference between the left and right on the same axle is not.
Check alloys, brakes and the spare
Look at each wheel for kerb damage, cracks and buckling. Light scuffs on alloy rims are cosmetic, but a bent rim can cause vibration at speed. Look through the spokes at the brake discs. A deep ridge or lip around the outer edge, or heavy scoring, means the discs and pads will need replacing soon. A thin film of rust on discs is normal if the car has been standing.
Finally, find the spare wheel, or the repair kit and inflator that replaces it on many new cars. Check that the jack and locking wheel nut key are present. A missing locking nut key means a garage visit before any wheel can be removed, and it is a small problem that sellers often forget to mention.
Tyres and brakes show real running costs immediately, and they are the easiest faults to turn into a price reduction.
Step 5. Look under the bonnet and the car
The engine bay shows how well the car has been maintained, and the first start shows how healthy the engine is. Always check a cold engine, because a warm one can hide starting problems.
Start with a cold engine
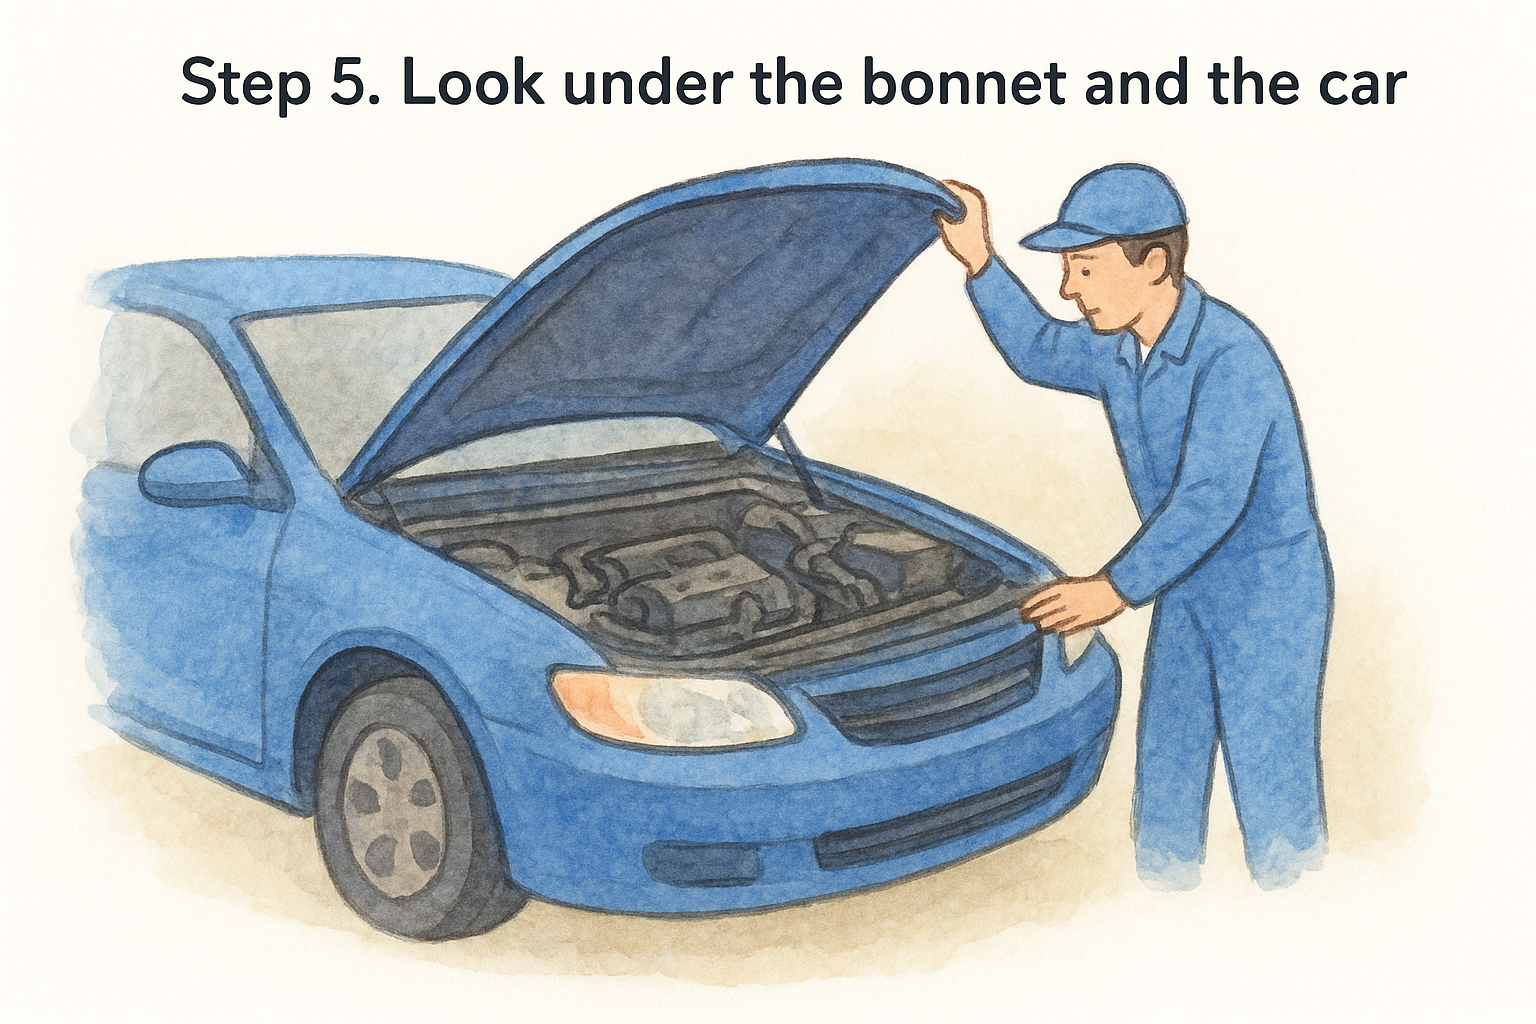
Put your hand on the bonnet and the top of the engine before the seller does anything. If it is warm, the car has been run before you arrived. Ask why. Sellers sometimes warm an engine to hide hard starting, rattles or smoke. Then watch and listen as the engine starts. It should fire within a few seconds and settle into a steady idle without knocking, ticking or rattling that fades only when it warms.
Stand behind the exhaust while a helper or the seller revs the engine gently. Smoke colour is a quick diagnostic.
| Exhaust smoke | Likely cause | Meaning |
|---|---|---|
| Blue or grey | Engine burning oil | Worn rings, valve seals or a failing turbo, often expensive |
| Thick white that persists | Coolant burning | Possible head gasket failure |
| Black | Too much fuel or a restricted intake | Can be a simple service item or a deeper fault |
| Thin white that disappears | Condensation | Normal on a cold morning |
Check fluids and the oil filler cap
Pull the dipstick, wipe it and pull it again. Oil should sit between the marks and look amber to dark brown. Very low oil suggests the engine burns oil or has been neglected. Then unscrew the oil filler cap and look at the underside. A pale, creamy residue like mayonnaise can mean coolant is mixing with oil, which points to a head gasket problem. A small amount can also form from condensation on cars used only for short trips, so combine it with other signs such as white smoke or a coolant level that keeps falling.
Check the coolant in its expansion tank. It should be clean and at the correct level, not rusty or oily. Look at the brake fluid as well, which should be a clear pale yellow. Then scan the engine bay for wet patches, cracked hoses, frayed belts and corrosion on the battery terminals. A suspiciously clean engine bay on an old car can mean someone has washed away leaks.
Creamy oil, persistent white smoke and a falling coolant level together point to a failing head gasket, and that is a reason to walk away.
Look underneath
Look at the ground where the car has been parked. Oil, coolant or fuel stains tell you more than any seller's statement. Crouch down with your torch and look at the exhaust for heavy rust or patches, and at the underside for hanging trim, rust on the subframes and wet areas around the engine and gearbox. You will not see everything without a ramp, which is one of the reasons a professional inspection can be worth paying for on a pricier car.
Step 6. Inspect the interior and electrics
The interior shows the car's real mileage and how it was treated. Every switch is a possible repair bill, so check them all rather than the ones you expect to use.
Compare wear with mileage
Sit in the driver's seat and look at the steering wheel, gear knob, pedals and seat bolster. A car showing 30,000 miles should not have a shiny wheel, worn pedal rubbers and a sagging driver's seat. Heavy wear that does not fit the mileage is a classic sign of a clocked car, so check it against the MOT mileage history you saw in step one. Also check the seat belts for fraying and the upholstery for tears, stains and burns.
Smell the cabin. A strong air freshener can hide smoke or damp. Damp is the bigger worry. Press the carpet in the footwells and lift the boot floor to check the spare wheel well for water or rust. Silt, mould or a musty smell under seats and trim can mean flood damage, which causes electrical faults that appear months later.
Test every switch and warning light
Turn the ignition on without starting the engine. All the dashboard warning lights should come on, then go out within a few seconds of starting. A warning light that never lights up at all, particularly the airbag or engine management light, can mean the bulb has been removed to hide a fault. A light that stays on after starting is a fault in itself. On diesel cars, take particular note of any diesel particulate filter warning, which can be expensive to cure.
Then work through the car methodically:
- Windows, mirrors, central locking and the boot release
- Air conditioning, which should blow properly cold, and the heater, which should blow hot
- Heated seats, steering wheel controls, infotainment screen and parking sensors
- Wipers, washers, horn, indicators, hazards and all exterior lights
- Both keys, because a replacement key for a modern car can cost far more than people expect
Fix the faults you find in your head as a price, not as a surprise, and electrical faults are easy to turn into one.
Note the extra checks for hybrids and electric cars
On a hybrid or electric car you cannot read an oil dipstick, but you can ask for battery health information and check the charging port and cable for damage. Test that the car charges, and ask for the manufacturer's warranty status on the battery, since this is the most expensive component. Software, charging history and battery warranty terms are worth confirming with the seller or the manufacturer before you commit.
Step 7. Take a structured test drive
A test drive of 20 to 30 minutes on a mix of roads is the most revealing part of the inspection. It shows how the car behaves when the engine is hot and the components are loaded, which a static check cannot.
Sort the insurance and the route first
Never assume you are covered. Ask the seller whether their policy allows you to drive, and if you are unsure, arrange temporary or test drive cover before you start. Take your driving licence. A dealer will usually have cover for test drives, but ask to see the terms. Then plan a route that includes slow town driving, a hill, some bends and a faster road where you can reach 60 to 70mph safely.
Switch the radio and air conditioning off at first, because dishonest sellers sometimes use music to mask noise. Open a window slightly. Ask the seller to sit quietly in the passenger seat and keep your attention on the car, not the chat.
What to test while driving
Work through the list below, and make notes straight after the drive while the details are fresh.
| Check | How to test it | Warning sign |
|---|---|---|
| Starting | Cold start, then restart when hot | Long cranking, stalling, rough idle |
| Clutch | Pull away, accelerate up a hill in a high gear | High biting point, slipping, judder |
| Gearbox | Go through every gear, including reverse | Crunching, notchiness, delayed or jerky automatic shifts |
| Steering | Drive straight on a flat road, turn at low speed | Pulling to one side, knocking, heavy or vague feel |
| Brakes | Firm stop with no one behind you, test the handbrake | Pulling sideways, vibration through the pedal, grinding |
| Suspension | Drive over uneven surfaces and speed bumps | Clunks, thumps, excessive bounce |
| Engine | Accelerate through the range | Hesitation, flat spots, misfires, loss of power |
| Gauges | Watch temperature and warning lights | Temperature rising, lights appearing |
Watch the temperature gauge as well. The engine should reach normal operating temperature within about 10 minutes and stay there. Listen for whining, humming or grinding that changes with speed, since those often point to wheel bearings or the gearbox. Check that the car holds a straight line when you briefly relax your grip on a flat, empty road.
If the car overheats, slips out of gear or pulls hard under braking, stop the test and walk away.
Park up and check again
After the drive, park somewhere flat, leave the engine running and look underneath for fresh drips. Check for smoke at the exhaust and listen for noises that were not there on the cold start. Then switch off, wait a minute and restart the engine. A car that struggles to restart when hot may have a starter, battery or sensor problem.
Finally, ask yourself whether you like driving it. Is the seating position comfortable, is visibility good and does it suit your usual journeys? A car with no faults can still be the wrong car.
Step 8. Decide whether to buy, haggle or walk away
After the inspection you have three options: buy, negotiate, or leave. Decide from your notes and not from the pressure of the moment, and be willing to leave without a deal.
Red flags that mean walk away
Some findings are not negotiation points. They are reasons to end the viewing. A car with any of the following problems is not worth the risk, however attractive the price.
| Red flag | Why it matters |
|---|---|
| VIN or engine number does not match the V5C | The car may be cloned, stolen or illegally altered |
| Seller is not the registered keeper and cannot explain why | Possible trade seller or no right to sell |
| Outstanding finance | The lender may still own the car |
| Listed as stolen | The car can be seized and you lose your money |
| Write-off category not disclosed | Hidden structural damage and a hidden price drop |
| Mileage that contradicts the MOT history or wear | Clocked car, with the true condition unknown |
| Warm engine on arrival, or refusal of a cold start | Likely hiding a starting or running problem |
| Refusal to allow a test drive or inspection | The seller expects the car to fail it |
| Pressure to pay quickly or in cash | A classic sign of a deal that will not survive checking |
Write-off categories matter here. Categories A and B must never return to the road, and a car in either should not be on sale to drive. Categories S (structural) and N (non-structural) can be legally repaired and sold, but the seller should disclose them and the price should reflect the history.
Use faults to negotiate
If the car passes your red flag list but has faults, put a figure on each one. Get quotes for tyres, a service, brake discs or a cambelt rather than guessing. Then make your offer based on those numbers and put any agreed repairs in writing. For instance, say the advert is £6,500. The car needs two new tyres, quoted at £240, and a service, quoted at £180. That is £420 in total, so an offer of £6,080 is fair and easy to justify to the seller.
Stay polite and be ready to walk. Sellers respond better to reasoned offers than to haggling for its own sake. In a dealer sale you can also ask for extras, such as a fresh MOT, a service or a longer warranty, instead of a price cut.
When to pay for a professional inspection
Pay for a pre-purchase inspection if the car is expensive, a specialist model, a long way from home or you simply do not know enough to judge it. An independent mechanic can put the car on a ramp, check the underside and suspension, read fault codes with a diagnostic scanner and give you a written report. Motoring organisations and mobile mechanics offer these inspections, and a fee is small compared with a gearbox or engine repair.
Ask the seller first. A reasonable seller will agree, and a seller who refuses has told you what you need to know. Whatever you decide, before you pay, take a detailed receipt showing the price, date, mileage, VIN and both parties' details. Pay by a traceable method rather than cash, and arrange insurance and tax before you drive away.
Inspect first, then commit
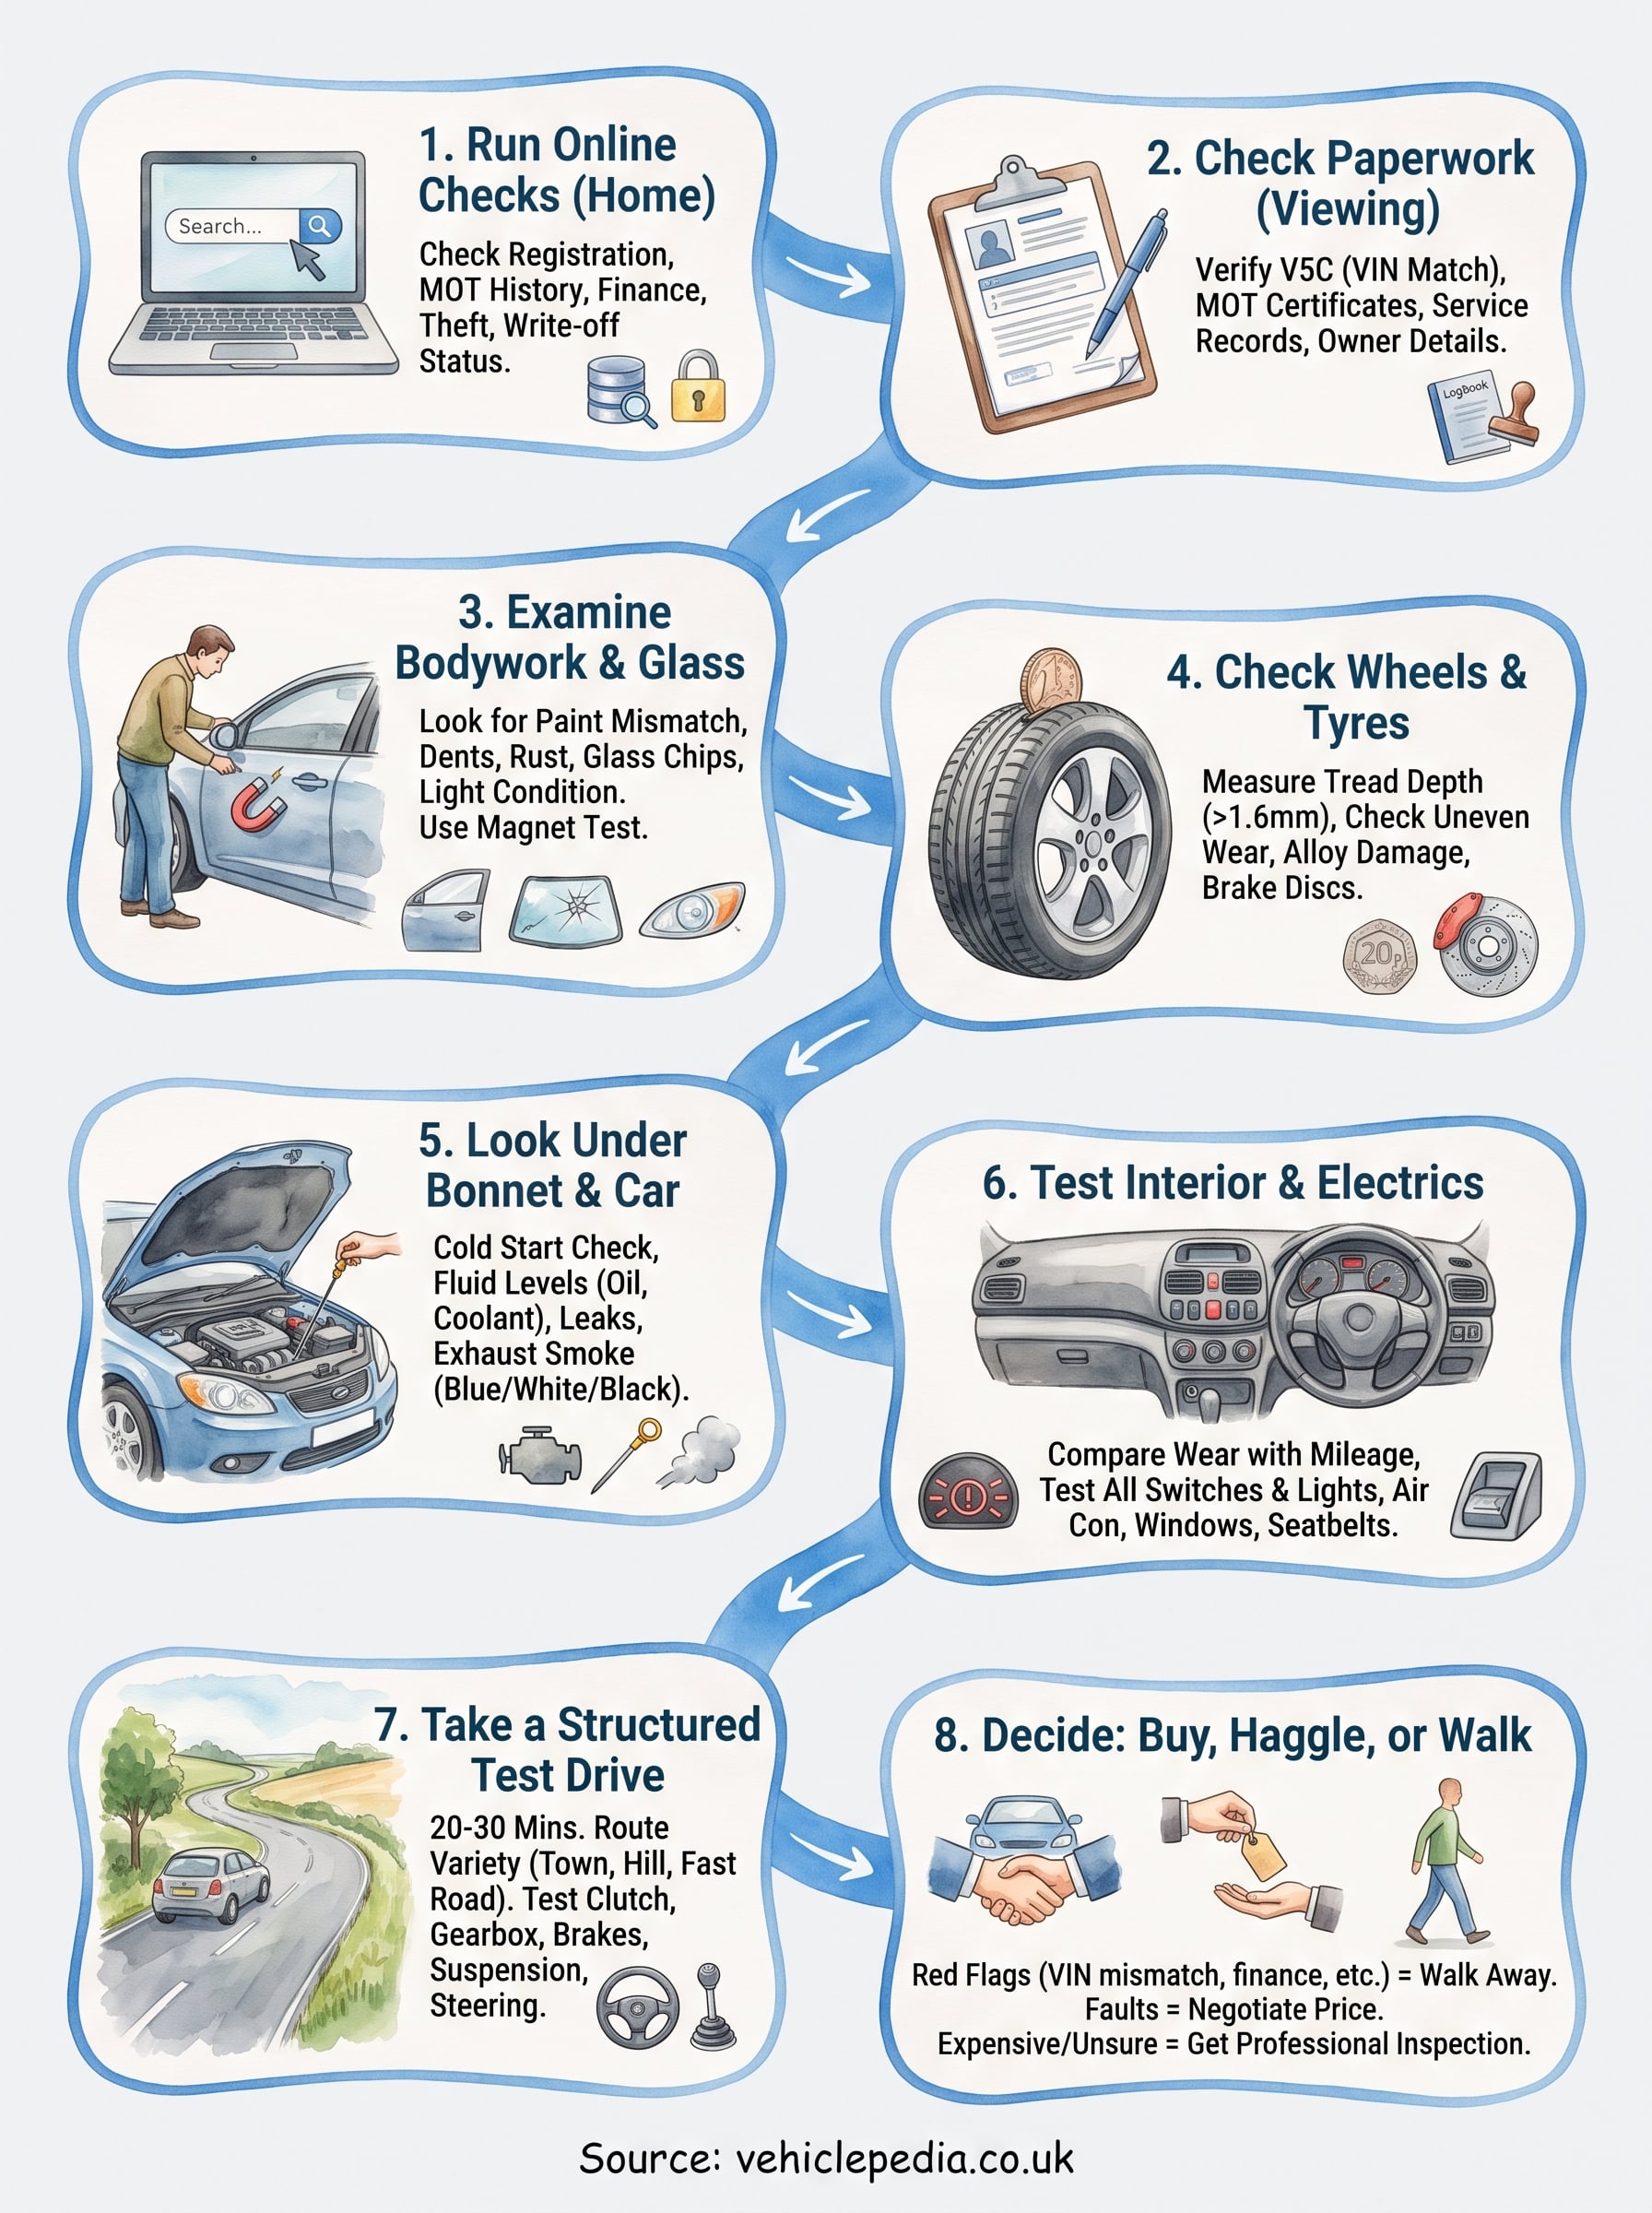
The inspection works because every step catches a different kind of problem. Online checks reveal finance, theft and write-offs, the paperwork confirms identity, your eyes and hands find the wear and repairs, and the test drive shows how the car behaves under load. Add a professional inspection when the stakes are high, and walk away from any car that fails the red flag list.
Start with the part you can do from your sofa. Before you book a viewing, run the registration through a free check, then look at what a full report adds in the Vehiclepedia sample report. It shows exactly what finance, stolen and write-off data looks like before you decide whether a premium check is worth it for the car you want.